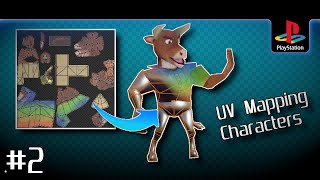
In this tutorial, learn how to create PlayStation 1 style textures and models using Blender and Texture Ripper. We’ll walk you through extracting image parts to use as texture maps, downscaling them for a pixelated, retro look, and adding color dithering to mimic the classic PS1 aesthetic. Then, we dive into Blender 3D modeling, where we recreate a vintage CRT TV with a PlayStation 1 console, showing how to model low-poly assets with retro textures.
What you'll learn:
How to use Texture Ripper for texture extraction.
Downscaling textures for pixelation and applying color dithering.
How to model and texture retro assets in Blender, including a CRT TV and PlayStation 1 console.
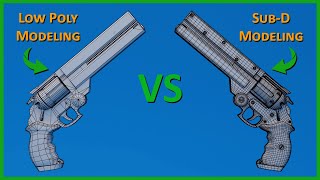
Achieving a low-poly, PS1-style aesthetic for your 3D models.
Links to software used:
Texture Ripper (Shoebox): For texture extraction.
https://renderhjs.net/shoebox/
Paint.NET: For texture editing and downscaling.
https://www.getpaint.net/
AdobeAir:
https://airsdk.harman.com/runtime
Chapters:
00:00 – Intro
01:00 – Texture Ripper Overview
02:22 – Paint.NET Pixelation & Dithering
03:21 – Blender Material Setup
04:00 – Blender Modeling Tutorial
Make sure to like, comment, and subscribe for more tutorials on retro-style modeling and texturing in Blender! Click the bell icon to get notified about future content.
#ps1 #blendertutorial #textureripper #retrogamedev #lowpolymodeling

 5:32
5:32
 9:48
9:48
 25:03
25:03
 28:13
28:13
 18:39
18:39
 1:22:39
 14:29
14:29
 7:08
7:08
 15:01
15:01
 10:28
10:28
 11:12
11:12
 22:29
22:29
 11:06
11:06
 29:06
29:06
 4:31
4:31
 10:23
10:23
 17:57
17:57
 20:54
20:54
 31:07
31:07
 39:59
39:59


