Der PERFEKTE FPV-Look – Kamera & Grading 100% verständlich erklärt!
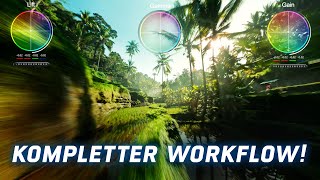
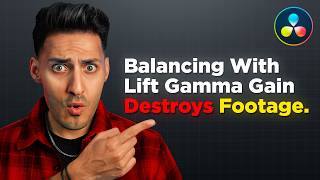
Heute zeig ich euch, wie ich meine Kamera für cineastische FPV-Videos einstelle – inklusive Framerate, Shutter & Color Profile. Danach geht’s in DaVinci und Gyroflow, wo ich Schritt für Schritt erkläre, wie ich mein Footage stabilisiere, color grade und den perfekten Look raushole. Alles ganz entspannt erklärt – ohne Fachgelaber, sondern so, dass’s wirklich jeder versteht.
GoPro ND: https://amzn.to/3Eqjb3v
O4 ND: https://amzn.to/4iw16Pi
ND Filer Kamera: https://amzn.to/4jPAutG
Werbung
Die Links sind Affiliate-Links. Wenn du darüber etwas bestellst, dann erhalte ich eine kleine Provision, ohne dass das Produkt für dich teurer wird.
Folge mir auf:
instagram: https://www.instagram.com/scrayzor
Kostenlose Lut: https://www.dropbox.com/scl/fi/5o2igaqti8ooaibmgtjyg/gopro-fpv1.CUBE?rlkey=j6cqmvuq388bwq0gn4y0jwcyj&st=vwvc5dz4&dl=0
Meine FPV Drohne:
Frame: https://s.click.aliexpress.com/e/_oC710Ir
ELRS Empfänger: https://s.click.aliexpress.com/e/_oDOhmVJ
Flight Controller & ESC: https://s.click.aliexpress.com/e/_oCt1n8X
Kameraeinheit: https://amzn.to/4i5XVhf
Propeller: https://s.click.aliexpress.com/e/_DCX6tF5
Motoren: https://s.click.aliexpress.com/e/_okNOg2F
Günstigere Motoren (alternative): https://s.click.aliexpress.com/e/_omhldTX
Kondensator (35V470UF auswählen damit er in den Frame passt: https://s.click.aliexpress.com/e/_DleTsMT
 27:32
27:32
 29:52
29:52
 11:30
11:30
 19:34
19:34
 13:27
13:27
 27:37
27:37
 18:02
18:02
 17:57
17:57
 1:13:44
 17:42
17:42
 17:49
17:49
 17:49
17:49
 22:49
22:49
 1:33:49
 10:40
10:40
 14:56
14:56
 21:23
21:23
 3:39
3:39
 16:03
16:03
 22:25
22:25


