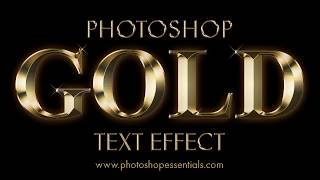
Create gold text in Photoshop! Turn type into gold with this step-by-step tutorial that shows you how to create shiny, sparkling gold letters and text!
NEW PS 2024 VERSION ➜
https://youtu.be/mTi0g4z9q2w
Download the written PDF on my Patreon: https://www.patreon.com/photoshopessentials
Get Adobe Photoshop ➜ https://prf.hn/l/dlXjD2w
---------------------------------------------------------------
RELATED VIDEOS
Find the brush you need in newer Photoshop versions ➜
https://youtu.be/ZcpkttU1qLY
Remove the background behind the text ➜
https://youtu.be/DQ-2IF5Civ8
---------------------------------------------------------------
MORE PHOTOSHOP TEXT EFFECTS
How to place an image in text ➜
https://youtu.be/YRFxm3IfrI8
Create transparent text ➜
https://youtu.be/YjU3ux0sVQU
Create split-color text ➜
https://youtu.be/Nye3gTCLi44
Spray paint text effect ➜
https://youtu.be/6bIAkUbuMGk
Create colorful overlapping letters ➜
https://youtu.be/svsQSVhMvDE
---------------------------------------------------------------
VIDEO CHAPTERS
00:00 - Intro
00:38 - Create a new Photoshop document
01:24 - Fill the new document with black
01:55 - Select the Type Tool
02:00 - Set your font options
02:21 - Set your type color to white
02:47 - Add your text
02:57 - Resize the text with Free Transform
03:41 - Duplicate the Type layer
04:08 - Add a Gradient Overlay layer style
04:27 - Edit the gradient
05:39 - Save the gradient as a new preset
06:03 - Change the gradient Style to "Reflected"
06:17 - Add a Bevel and Emboss layer style
06:28 - Change Technique to "Chisel Hard"
06:35 - Change Gloss Contour to "Ring Double"
06:49 - Change the Angle and turn on Anti-Aliaising
07:02 - Set the Highlight Mode and Shadow Mode opacity to 75%
07:10 - Increase the Size to fill in the letters
07:39 - Increase the Depth to 170%
07:47 - Add an Inner Glow layer style
08:37 - Select the original Type layer
08:42 - Add a stroke
08:50 - Change the Fill Type and choose the "Gold" gradient
09:10 - Set the Style, Position and Size of the stroke
09:29 - Apply Bevel and Emboss to the stroke
10:27 - Apply an Outer Glow layer style
11:15 - Select the copy of the Type layer
11:24 - Add a new blank layer
11:56 - Select the Brush Tool
12:03 - Load the Assorted brushes
12:42 - Choose the "Crosshatch 4" brush
13:12 - Sample a brush color from the gold letters
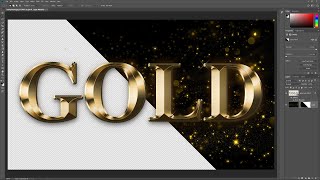
13:38 - Paint random sparkles around the letters
14:07 - Lower the opacity of the "Sparkles" layer
---------------------------------------------------------------
Contact me ➜ https://www.photoshopessentials.com/contact/
Join PhotoshopEssentials.com and get all of my tutorials as PDFs!
Learn more ➜ https://www.photoshopessentials.com/print-ready-pdfs/
More Photoshop tutorials on my website ➜ https://www.photoshopessentials.com
Affiliate Disclaimer: Some of these links in this description are affiliate links. I'll earn a small commission if you make a purchase and it's no additional cost to you.
#photoshoptutorial #texteffect #photoshop
 16:18
16:18
 8:54
8:54
 4:00:37
 29:26
29:26
 12:57
12:57
 3:33:09
 27:53
27:53
 11:50
11:50
 7:59
7:59
 12:54
12:54
 10:28
10:28
 23:20
23:20
 8:17
8:17
 13:24
13:24
 3:57
3:57
 7:15
7:15
 34:04
34:04
 25:06
25:06
 11:26
11:26


