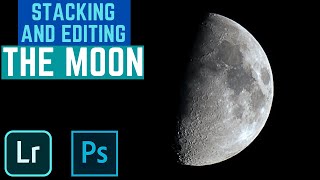
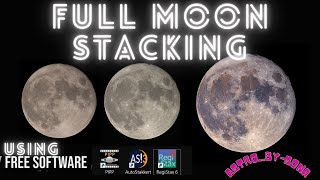
How to use photoshop stacking on the moon
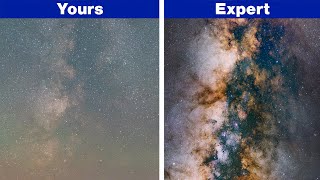
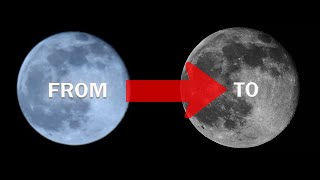
Shooting the moon. Here is the tutorial on how I accomplished this shot.
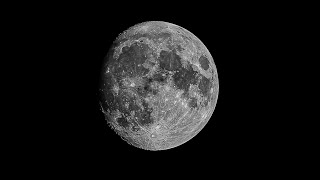
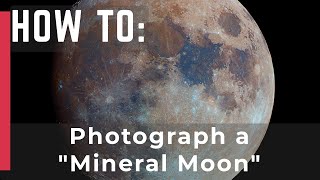
This might be my most detailed moon shot yet.
I utilized the electronic shutter in my camera for this one and got a burst of 30 images. I selected 20 of them and then I edited them all the same.
I right clicked on the files in Lightroom and opened them as layers in photoshop. From there you can auto align them and then I made them all a smart object. I run a median stack on it and duplicated the layer. On the top layer I run a high pass filter using the value 3. I used overlay and then I sent it back to Lightroom.
From then I put the finishing touches exporting as a tiff file back to luminar where I ran some final color corrections and editing.
I used to capture this my EOS R6 with a svbony 105 500 mm refractor lens. But by using the stacking I was able to bring out the detail and reduce the noise exponentially.
Canon EOS R6 svbony 105 500mm
Iso 100, SS 1/400, f/5.5 (fixed aperture)
20 image photoshop stack. Edited in Lightroom, Photoshop and Luminar.
Follow us for more photography tips.
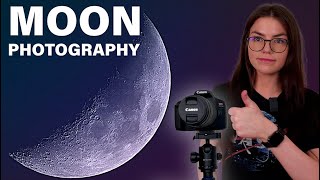
How to capture pictures of the moon:
https://www.youtube.com/watch?v=GsKt8TPW3hU
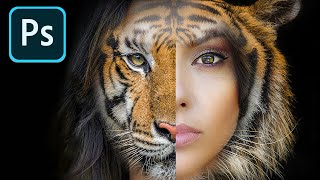
How to make fine art photos quick:
https://youtu.be/RgZkho50Eyg
Follow us on instagram/facebook:
https://www.instagram.com/photoswithyanni/
Free presets: https://www.photoswithyanni.com/presets/
Facebook page: https://www.facebook.com/photoswithyanni
Online Gallery : https://photoswithyanni.pixieset.com
Many thanks to
Photography Beginners group and photo 1x1 free photography course.
http://www.photo1x1.com
https://www.youtube.com/playlist?list=PL7W5udALs-AlIByQQ8KnleHQdKq_9m0vD
https://www.facebook.com/groups/photographybeginnersgroup
And of course
https://www.facebook.com/andromedio1/about/?ref=page_internal
https://www.youtube.com/user/MrAndromedios without him I wouldn’t be
 8:40
8:40
 35:01
35:01
 37:19
37:19
 21:46
21:46
 18:45
18:45
 13:31
13:31
 17:06
17:06
 7:05
7:05
 16:41
16:41
 46:09
46:09
 32:10
32:10
 28:43
28:43
 22:32
22:32
 17:32
17:32
 29:08
29:08
 9:03
9:03
 28:57
28:57
 12:18
12:18
 23:50
23:50
 24:32
24:32


