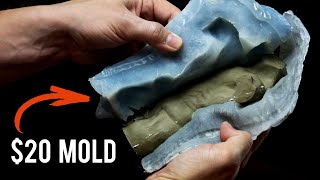
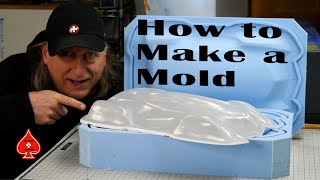
In this video, we'll walk you through the complete process of creating a large-scale brush-on tin-based silicone mold with a multi-part support shell. We cover every step, from preparing the model to applying silicone layers and constructing the durable support shell. This is the second video in a three-part series, so don't forget to check out our other videos on model setup and casting into the mold. Watch until the end for pro tips on ensuring perfect mold alignment and handling.
Related Videos:
Prepping the Model for Silicone Molding:
https://youtu.be/IBiqCUYbBog
Casting into the Finished Mold:
https://youtu.be/xs4i-Y91dEk
Materials Used:
Mold Max Stroke
Epoxy 101 Fast
Free Form Air
Sculpting Clay
And more! Find all the supplies you need at our distributors worldwide.
https://www.smooth-on.com/distributors
00:00 – Introduction: What You’ll Learn
00:25 – Setting Up the Work Surface
01:30 – Preparing the Model with Sculpting Clay
03:15 – Applying the First Silicone Layer
06:40 – Thickening the Silicone for Undercuts
10:20 – Adding Layers for Consistency and Strength
14:50 – Preparing and Applying Epoxy Gel Coat
18:00 – Laminating Glass Fibers for Extra Strength
22:40 – Adding Handles and Keys for Mold Alignment
28:30 – Curing and Finishing Touches
31:00 – Removing and Cleaning the Mold
Let us know in the comments what project you'd like to see next! Don't forget to like, subscribe, and hit the notification bell to stay updated on our latest mold-making and casting tutorials.
#MoldMaking #SiliconeMolding #DIYProjects #EpoxyCasting #MoldTutorial #SupportShell #DIYCrafts #CastingTechniques #ModelMaking #CraftingTools
Adult Supervision Required
Keep Out Of Reach Of Children
---
Make It Now! with Smooth-On
https://www.smooth-on.com
https://www.facebook.com/SmoothOn
https://twitter.com/SmoothOn
https://www.instagram.com/SmoothOn

 14:40
14:40
 26:53
26:53
 43:20
43:20
 25:17
25:17
 20:34
20:34
 20:41
20:41
 14:24
14:24
 30:06
30:06
 15:37
15:37
 12:27
12:27
 25:41
25:41
 20:37
20:37
 35:29
35:29
 10:42
10:42
 26:03
26:03
 12:56
12:56
 25:09
25:09
 30:52
30:52
 21:54
21:54
 12:06
12:06


