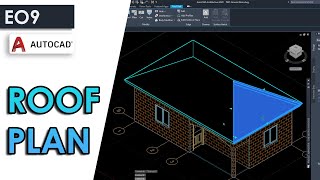
How to draw a roof framing plan in AutoCAD
In this step-by-step tutorial, learn how to draw a detailed roof framing plan using AutoCAD. Whether you're an architect, drafter, or student, this guide will help you create precise and professional roof framing plans with ease. We'll start by setting up the drawing environment, adjusting units, and importing necessary architectural references. From there, we'll dive into drawing the roof’s framing components, including beams, rafters, trusses, and ridge boards. You'll also learn how to use essential AutoCAD tools, such as layers, line types, and dimensioning, to organize your drawing effectively.
Throughout the video, we’ll share expert tips to improve efficiency, reduce errors, and ensure your plan meets construction standards. You'll also discover best practices for annotating your drawing, adding material notations, and plotting your work for presentation or construction use. By the end of this tutorial, you'll have the skills to create an accurate roof framing plan and the confidence to apply these techniques to real-world projects.
Perfect for beginners and intermediate users, this video is a must-watch for anyone looking to enhance their AutoCAD skills and advance in architectural drafting.

 34:54
34:54
 1:43:33
 16:46
16:46
 4:00:37
 20:18
20:18
 22:34
22:34
 1:15:35
 22:45
22:45
 12:51
12:51
 1:29:29
 1:37:29
 56:49
56:49
 29:41
29:41
 4:28:52
 13:49
13:49


