#eLearning #InstructionalDesign #ArticualteStoryline
When you're designing a course in Articulate Storyline, rather than creating a linear course or using the built-in menu in the player, you can create your own custom on-screen menu for learner navigation.
In these situations, you may want to track and visually display what menu items the learner has or has not viewed, as well as, control menu access depending on whether or not they've completed certain sections. Luckily, you can easily do this using variables, conditional triggers, and button states.
So, in this How-To Workshop, I'll show you how to create a custom menu in Articulate Storyline, using variables, conditional triggers, and button states.
👉 Check out all of my Articulate Storyline How-To Workshops here: https://youtube.com/playlist?list=PLqq0if6rsK0pwcQxgWRxLSHp1qHi7sDuZ
👉 Check out and sign up for our future community events here: https://community.elearningacademy.io/c/events/
----
Timestamps:
00:00 Intro
01:07 Custom Menu Example
07:12 Design the Menu
07:36 Create the Menu Buttons
09:33 Customize the Button States
16:19 Create the Menu Icons
17:19 Customize the Menu States
21:43 Add Triggers to the Buttons
26:26 Create the True/False Variables
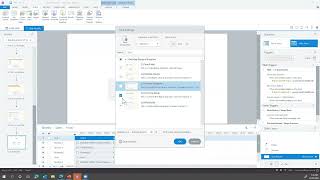
31:09 Create Triggers to Adjust the Variables
34:47 Test the Triggers with a Variables Reference
37:54 Adjust Trigger Order
40:50 Change Menu Buttons & Icons States Based on Variable Values
48:00 Closing
----
Learn more about growing your eLearning career:
https://elearningacademy.io/
Enroll in our eLearning academy and community:
https://elearningacademy.io/academy/
Snag a copy of The eLearning Designer's Handbook:
https://amzn.to/3AlFkYU
----
Follow The eLearning Designer's Academy:
Twitter: https://twitter.com/eLearningAcdmy
LinkedIn: https://www.linkedin.com/company/elearningacdmy/
----
Follow Tim Slade:
Twitter: https://twitter.com/sladetim
LinkedIn: https://www.linkedin.com/in/sladetim

 37:03
37:03
 1:25:17
 1:16:06
 57:39
57:39
 1:50:25
 1:06:59
 55:19
55:19
 1:35:45
 1:34:23
 23:00
23:00
 1:16:12
 1:06:43
 49:40
49:40
 1:05:51
 39:36
39:36
 1:09:37
 47:15
47:15
 56:15
56:15
 17:31
17:31


