0:00 What the video is about - This is a LONG video
0:56 Removing end caps
02:20 Removing the freehub from the hub
03:35 1mm spacer
04:20 Removing rubber seal (Disc side)
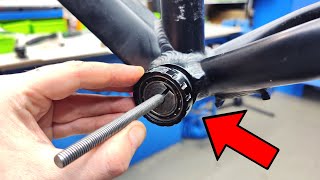
05:03 Removing the axle from the hub & bearing
07:00 Removing the bearing from the axle
08:45 Removing the remaining bearing
09:40 Quick look at the axle
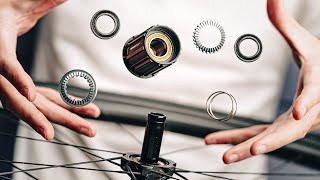
09:57 How the hub looks without bearings
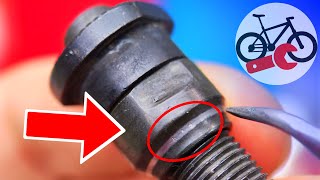
10:17 Removing labyrinth seal (Green ring)
10:43 Freehub pawl & spring removal
11:40 Freehub tube, need to be able to move it
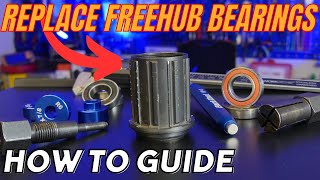
12:50 Removing bearings from freehub
14:55 Bearing details sizes etc
17:36 Why you should press the freehub bearings in too much
17:55 Installing freehub bearing with cheap tools
24:15 Close up of bearing after install
25:02 Don't forget the tube/spacer
25:45 Important part
26:25 2nd freehub bearing install with a press
29:14 Make sure the tube can move
29:26 Install labyrinth seal (Green ring)
30:00 Clean pawls and springs
30:21 Surface rust
30:51 Installing freehub pawls and springs
32:32 You will need a deeper press tool or long socket
33:40 Installing hub bearing, freehub side
35:51 Close up of the 1st hub bearing after install
36:18 Installing hub bearing, disc side
40:23 Close up of the 2nd hub bearing after install
40:30 Install the rubber seal
41:02 1MM SPACER!!
41:20 Installing your freehub
41:55 Installing labyrinth seal (Green ring)
42:55 All finished
https://www.hopetech.com/_repository/1/documents/Pro-4-Freehub-Assemblies1(1).pdf

 29:56
29:56
 25:33
25:33
 14:17
14:17
 31:38
31:38
 32:30
32:30
 13:43
13:43
 40:58
40:58
 14:47
14:47
 15:10
15:10
 13:14
13:14
 17:46
17:46
 27:21
27:21
 22:17
22:17
 17:20
17:20
 23:20
23:20
 13:45
13:45
 13:19
13:19
 20:27
20:27
 19:01
19:01
 34:08
34:08


