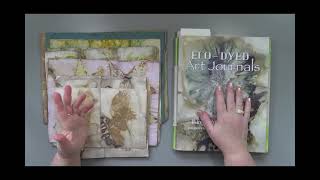
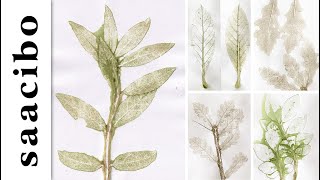
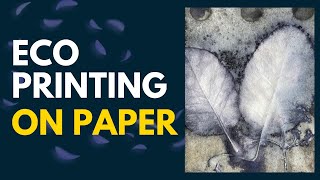
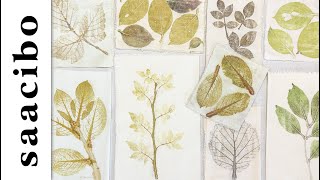
Eco Printing Paper with Leaves, Infusing Color into Your Eco Prints
As an Ode to Autumn it is a perfect time to stroll your favorite forest, park, or your own backyard and admire the changing leaves. Pick up a hand or basket full and join me on an eco dye journey with a tiny twist of infusing some added color into your paper prints! Full tutorial start to finish of this simple process with stunning results!
Supply List:
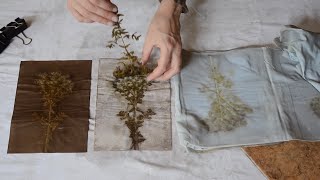
Eco Dyeing by Sandy Babb
Supplies:
*Paper of your choice (copy, watercolor, mixed media, lightweight cardstock, khadi, etc.)
medium weight papers hold up best in the boiling process (I used standard 8 1/2 x11 paper size)
*Construction Paper (cheap dollar store brand)
*2 Heavy Cardboard, Thin Wood Panels or Tiles the size of your paper choice
*Scissor
*Natural fiber rope or twine
*Alum Powder (Found in the baking aisle in the grocery store or large supply on Amazon)
*Spray Bottle
*Warm Water
*Spoon
*Funnel if needed
*Protective Gloves
*Old Hand Towel
*Mordant (I used old rusty iron bits)
*3 Tea Bags (optional, I use Family Size)
*Weights (I used rocks)
*Lidded Pan large enough to hold paper bundle and deep enough to submerge bundle
*Old Towels to dry Prints on overnight
*Controlled Heat Source (stove, camp stove, grill, induction burner, electric burners, etc)
Warnings:
Any equipment you use during this process is no longer food safe. Research and be
knowledgeable about the plants you choose to process, some are toxic, so be safe. Only
process in a well ventilated area, if you have allergies I suggest you process with an outside
cooking source vs in your kitchen. This technique is not suitable for children, chemicals and
boiling water are used and should be carefully handled.
Where you can find me:
Etsy
https://www.etsy.com/shop/quillcottage
Instagram
https://www.instagram.com/sandybabb/
Facebook
https://www.facebook.com/sandy.babb.16?ref=tn_tnmn
Pinterest
https://www.pinterest.com/sandybabb/_saved/
Blog
http://quillcottage.blogspot.com/
 28:41
28:41
 33:07
33:07
 21:49
21:49
 13:38
13:38
 23:46
23:46
 27:13
27:13
 3:23
3:23
 43:44
43:44
 9:43
9:43
 18:48
18:48
 50:24
50:24
 11:16
11:16
 25:55
25:55
 6:50
6:50
 19:24
19:24
 12:08
12:08
 26:30
26:30
 1:06:44
 18:55
18:55
 20:23
20:23


