Join my Patreon for exclusive project files & 3D assets!
Patreon: https://www.patreon.com/c/rjpadda
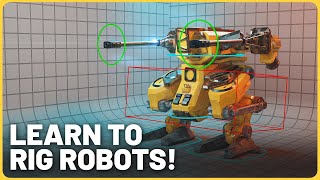
Welcome to Part 4 of my Blender for Complete Beginners series! In this tutorial, we’re diving into character rigging—the process of adding bones to our 3D robot model to prepare it for animation. If you've ever wanted to bring your characters to life with movement, this is the essential first step!
What You’ll Learn in This Video:
✅ Introduction to Rigging – Understanding armatures and bones in Blender
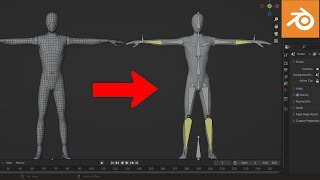
✅ Adding an Armature – Placing and adjusting bones inside the robot model
✅ Parenting the Model to the Rig – Connecting the mesh to the armature for proper movement
✅ Testing the Rig – Making sure everything moves correctly
By the end of this tutorial, you’ll have a fully rigged character ready for animation in Blender!
If you found this tutorial helpful, drop a like, subscribe for more Blender tutorials, and hit the bell icon to stay updated on the next part in the series!
Timestamps:
0:00 Adding 2 Spheres To The Feet
0:46 Rigging The Character
3:44 Testing The Rig
6:09 Posing our character
7:23 Changing The Animation Defualt Interpolation to linear
7:46 Applying basic animation using keyframes
Blender character rigging, Blender rigging tutorial, how to rig a character in Blender, Blender for beginners, character animation, Blender bones and armatures, weight painting in Blender, Blender animation tutorial, 3D rigging tutorial, Blender rigging step by step

 14:06
14:06
 59:27
59:27
 21:36
21:36
 45:24
45:24
 1:22:39
 16:09
16:09
 17:30
17:30
 17:49
17:49
 46:32
46:32
 8:57
8:57
 33:59
33:59
 20:00
20:00
 21:18
21:18
 11:16
11:16
 18:23
18:23
 25:04
25:04
 19:48
19:48
 7:06
7:06
 23:46
23:46
 5:48
5:48


