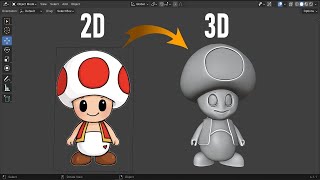
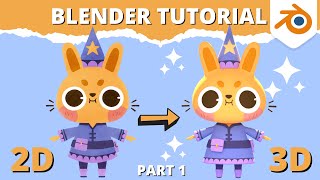
In this tutorial, we’ll walk you through the process of texturing your 3D character in Blender to match a reference image. We’ll cover everything from unwrapping the model to detailed texture painting techniques that bring your character to life.
🔥 Learn Character Design in Blender 🎨✨
https://www.udemy.com/course/blender-character-design/?couponCode=FEB-25-LEARNING
Part 1 - Character Modeling -
https://youtu.be/bwK7uk-A1y4
Part 2 - Character Texturing Tutorial -
https://youtu.be/uoy8ImvG-sI
Part 3 - Animate Character Talking -
https://youtu.be/7-nugCk05p8
Download Reference Image - https://realityfakers.net/tutorials/character-2d-image-to-3d-model/
Timestamps:
00:00 – Intro
00:13 – Unwrap the Character Model
01:30 – Create Material Image
03:20 – Skin Paint
04:02 – How to Use the Paint Mask in Blender
04:40 – Make the Cheeks & Around the Eyes Pink, Paint Mouth, Hands
07:54 – Texture Paint Toad Hat
11:13 – Texture Paint Cloth
12:09 – Use Stabilize Stroke
16:51 – Conclusion
By the end of this tutorial, you'll have a fully textured 3D model ready for animation or further detailing. Let's get started!

 13:12
13:12
 21:41
21:41
 13:16
13:16
 11:17
11:17
 28:38
28:38
 16:40
16:40
 17:30
17:30
 18:45
18:45
 8:08
8:08
 8:19
8:19
 23:46
23:46
 16:03
16:03
 12:42
12:42
 21:00
21:00
 13:34
13:34
 17:31
17:31
 48:02
48:02
 25:55
25:55


